Bagels! Chewy carby discs of dough. I love good-quality fresh bagels and hate those dense, hard, store-bought bricks that can be found in plastic bags in grocery store isles. I decided to make sourdough bagels one day because why not? I had nothing else to do and my mom really likes bagels. The first attempt was bad. They were incredibly dense, flat, wrinkly disks that required the jaw strength of a hippopatamus to chew. (During the boiling stage, they did not float, that was a sign they were underproofed and did not have enough air inside the dough). Still, my family ate them. Then wanted more.
Again I tried with another recipe, that of Maurizio from theperfectloaf. And again they were wrinkly and still difficult to chew, I thought maybe because I boiled them for too long, creating too much of a gelatinized-then-baked hard outer crust. Hrmph! Those bagels were hard to make and did not work out very well for me (probably by fault of me not the recipe), so I moved on to another.
This time, I used a recipe from Bread By Elise, after finding the account on instagram. The recipe looked simple enough, and at this point I was in a time crunch to learn how to make good bagels. See, I had scheduled a WWOOFing opportunity in Northern California with my friend from Oberlin, and our hosts wanted me to teach them how to make sourdough bagels. (For those of you who don’t know, WWOOF stands for World Wide Opportunities on Organic Farms, and you spend time working on gardens and farms in exchange for room and board.) I had to be able to teach bagels fast, seeing as I departed for my WWOOF journey in less than a month. I made bagels, they were better. Less wrinkly, still a bit too chewy but much better. Then, I made the recipe again after reading about the importance of rising in making good bagels. The article warned that using sourdough is too difficult since you need potent rising power that only yeast can provide, but I was determined to make sourdough bagels. So, I continued, letting the bagels rise longer and incorporating more whole grains, spelt and rye. This time, they worked much better. Not amazingly, but they had a good amount of air and less chew, but were a little bit soggy. I gave most of the bagels to my friends, since I had to start my journey to California the next day, and they loved them. One of them even said it was the best bagel they had ever eaten! High praise since I was still not completely satisfied with the bagels.
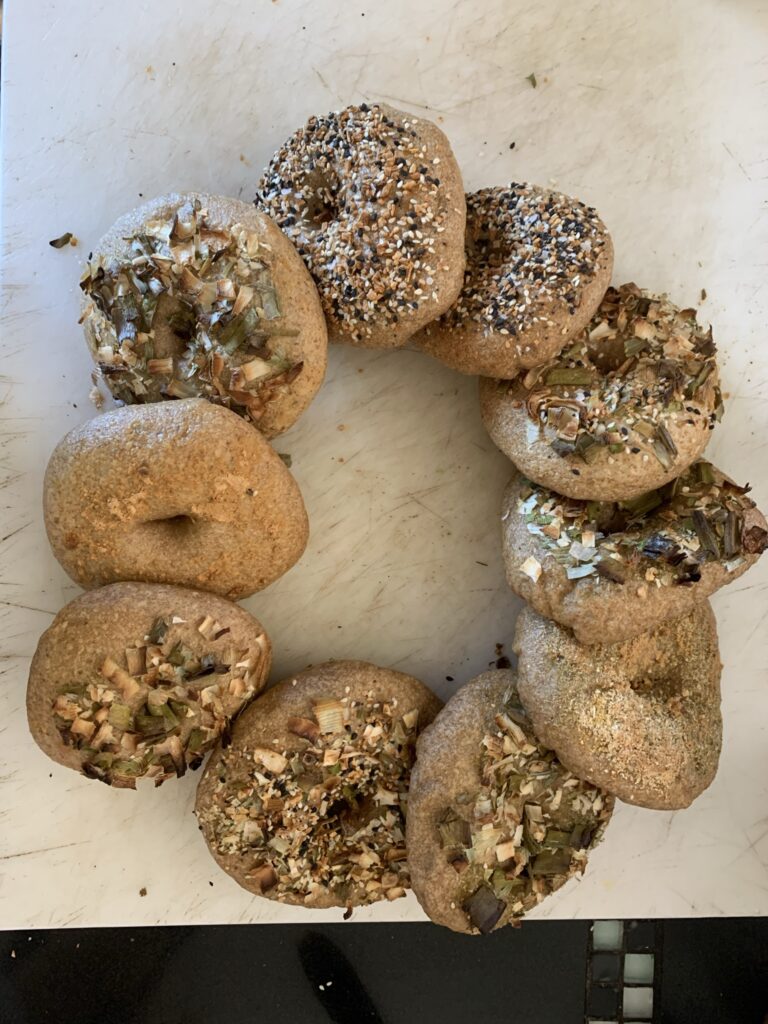
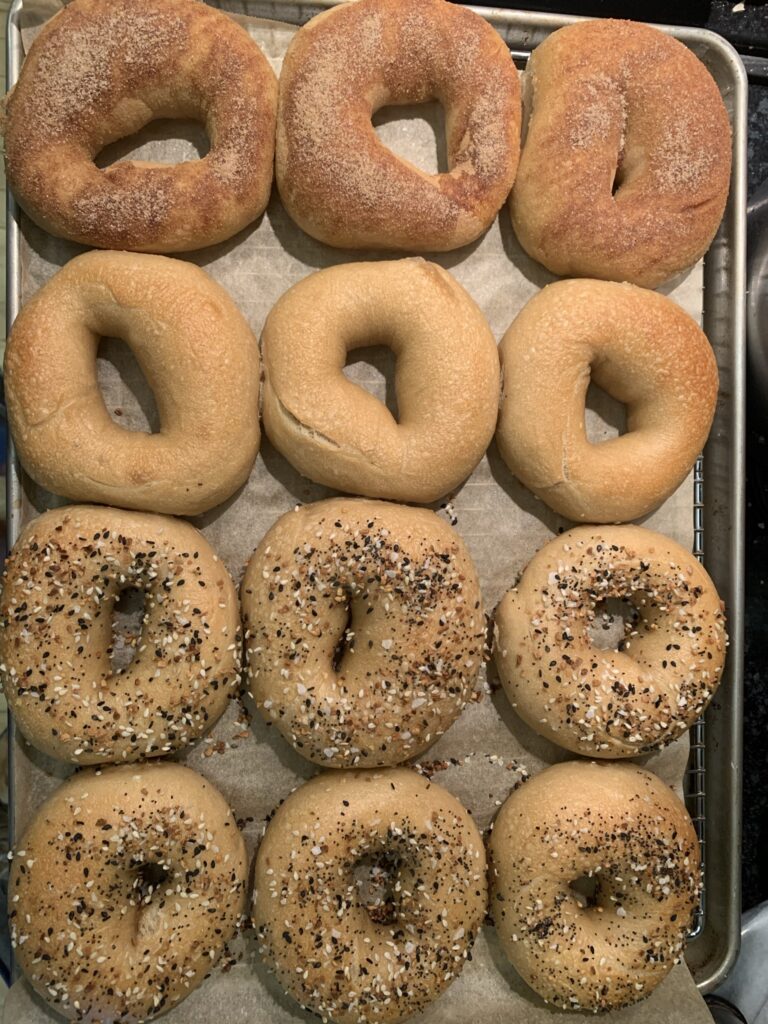
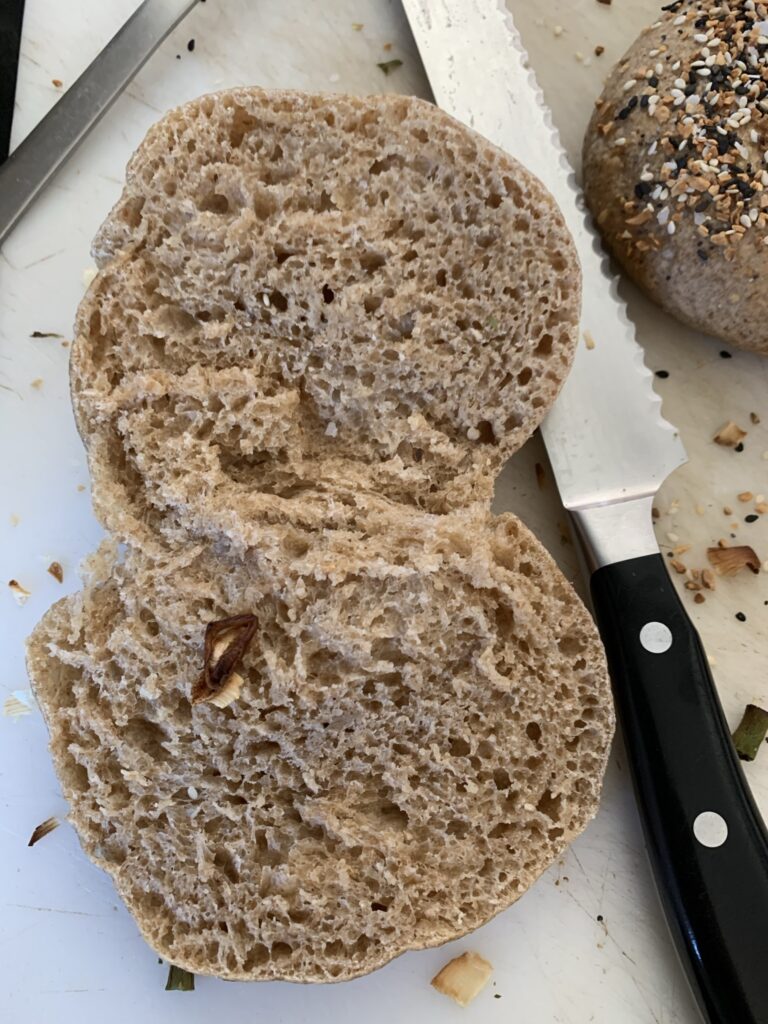
Onto the third attempt of the Bread By Elise bagel recipe! I was in an unfamiliar place in the home of the couple that was hosting us, with an unfamiliar kitchen and unfamiliar tools. Still, I proceeded to make the bagel dough, showing my hosts how I incorporated the flour, water, and starter; kneaded the sorghum syrup and salt in; did coil folds after letting the dough rise; shaped the bagels; let them rise in the fridge; let them rise again; boiled in water; topped with egg wash and organicly grown dehydrated onion courtesy of our host’s garden; and baked the beautiful doughy disks. Despite some hurdles with fridge and oven temperature, the bagels came out great. Beautifully risen, airy, flavorful, and chewy without being too tough. We ate the bagels without saying a word, just happily grunting as we chewed the delightful grains. The hosts loved the bagels, and thought they were a bit too difficult to do by themselves but maybe when they had other WWOOFers there would make again. In the review they gave us, they went so far as to say they were the best bagels they had ever eaten! And called me the bagel queen. And I got the sweet sweet satisfaction of eating something so tasty that I crafted with my own two hands.
I made the bagels two more times on my California journey, again in strange new lands and kitchens. Both times were successes again (although the second time I got confused about how to use a vintage gas oven with no oven thermometer and crisped the bagels a bit too much, but then they just tasted like pretzels!) Overall, great bagel successes, and I learned so much about adapting recipes, feeling and looking at the dough to see when it is ready, baking in diverse ovens, and enjoying what you make.
- For the levain
- 50 g active, bubly sourdough starter (once it starts doubling in less than 12 hours it is ready, try to feed it 2 or so times if it has been in the fridge for awhile)
- 50 g flour (any type)
- 50 g water
- For the dough
- 500 g bread flour
- 100 g whole grain flour (I use 50:50 rye:spelt or 30:70 rye spelt, feel free to play around with it!)
- 360 g water
- 35 g barley malt syrup OR 25 g molasses OR 20 g sorghum syrup OR 15 g honey OR another liquid sweetener of choice (pay attention to the nutrition facts sugar content and adjust amount based on the comparison of the sugar content of barley malt syrup)
- 10 g salt
- To boil
- 3 L water
- 45 g sugar
- 1.5 Tbsp baking soda
- For egg wash
- 1 egg
- 1 Tbsp water